Bird with a DOG head, a good example for morphing.
Complete Tutorial
Complete Tutorial
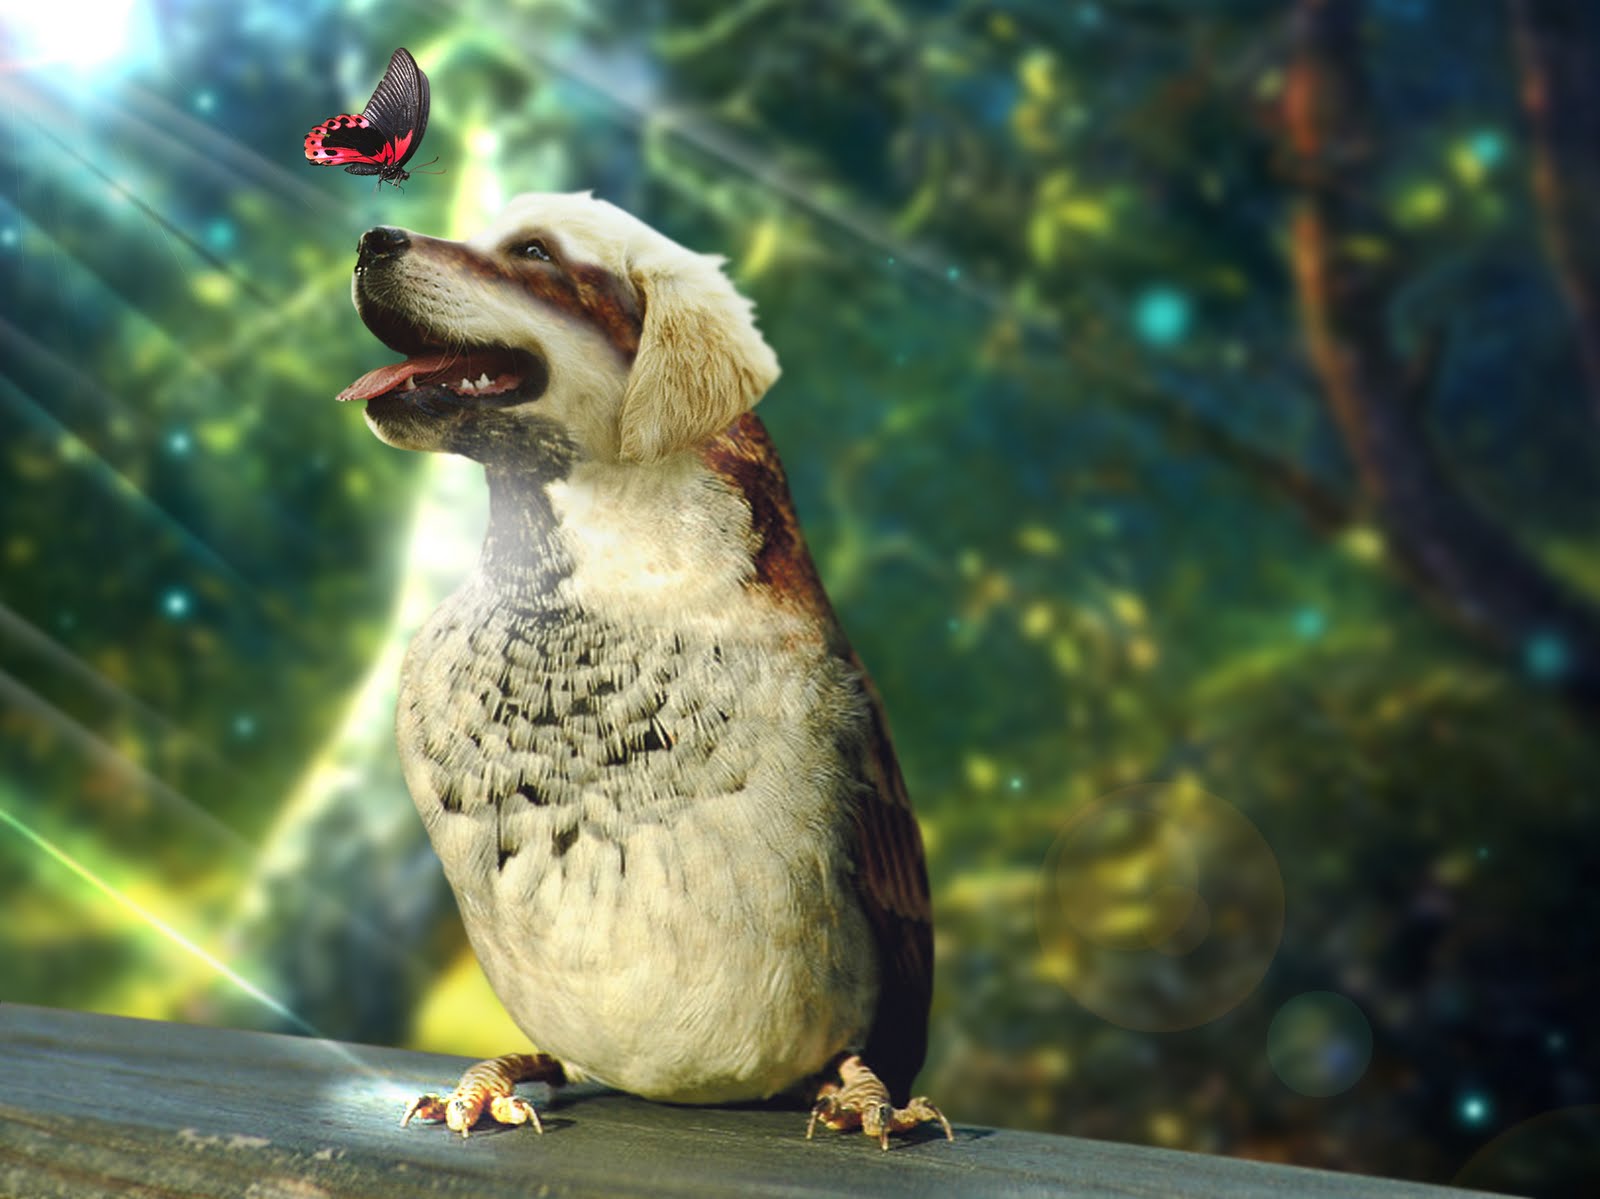
Take a look to the below picture to see how our output will look.
 We are going to take our images from Devianart.
You can use the below links for the pictures.
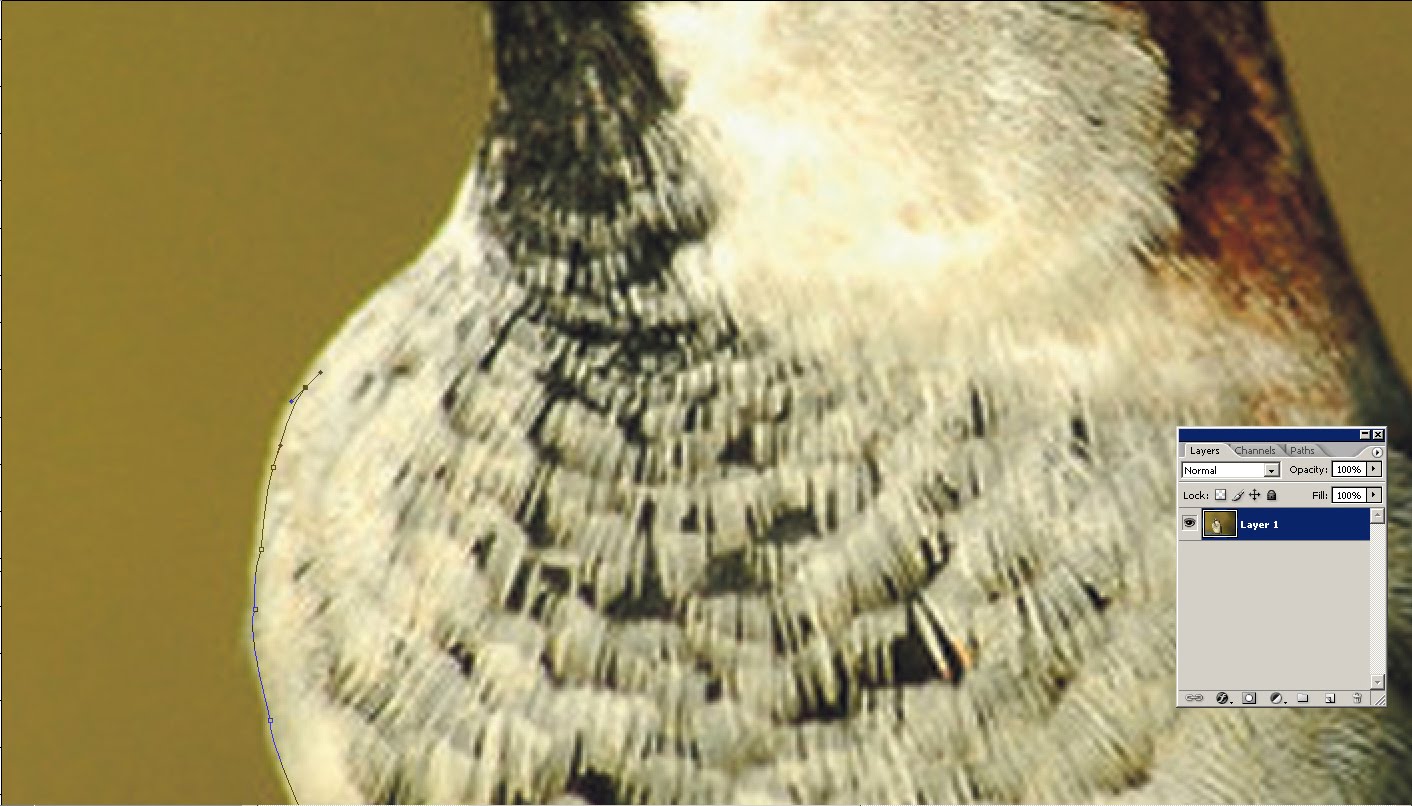
Open the sparrow picture with photoshop. Then change the background layer to normal by double clicking the Background layer from the Layer palette.Then remove the background with the pen tool (recommended).
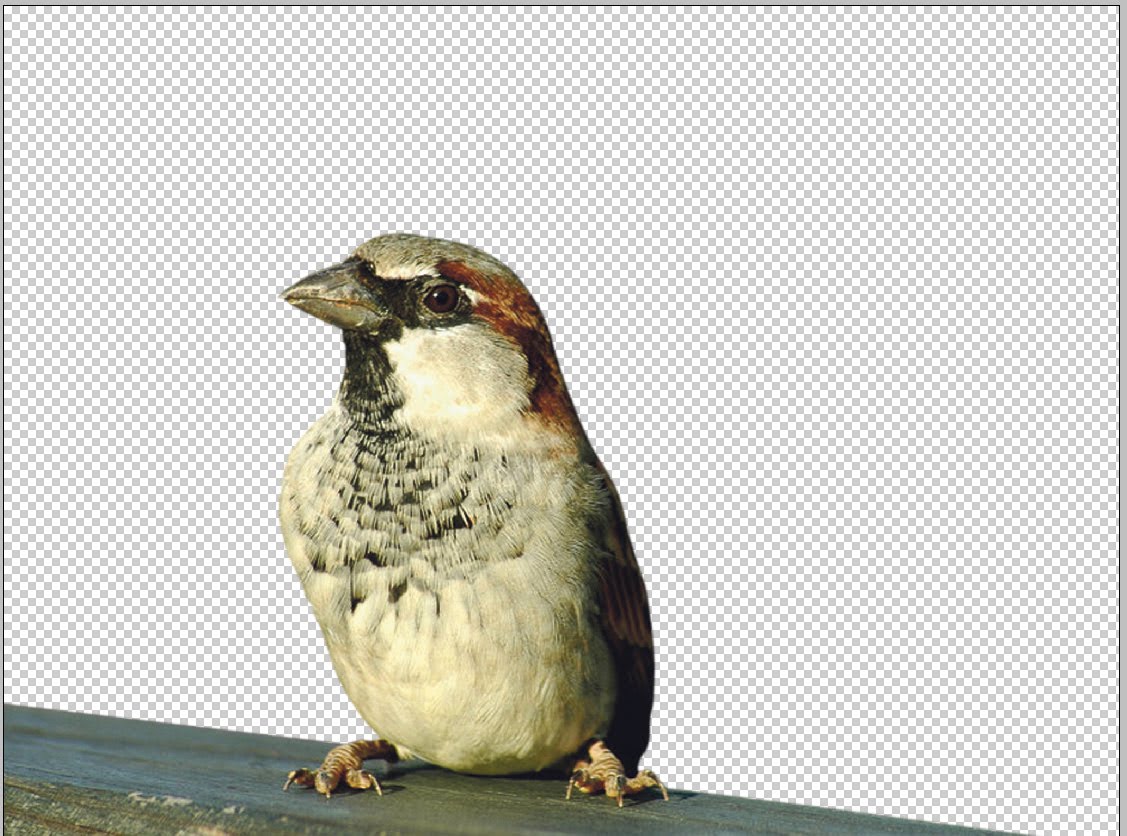
Now our sparrow will look like this.
 Open the dog picture and copy it to our Canvas. Then resize the Dog to match with the Sparrow. Decrease the transparancy to see through the dogs image. (I used 137.5% Scaling.)
Now we are going to remove the background from the dogs picture also.
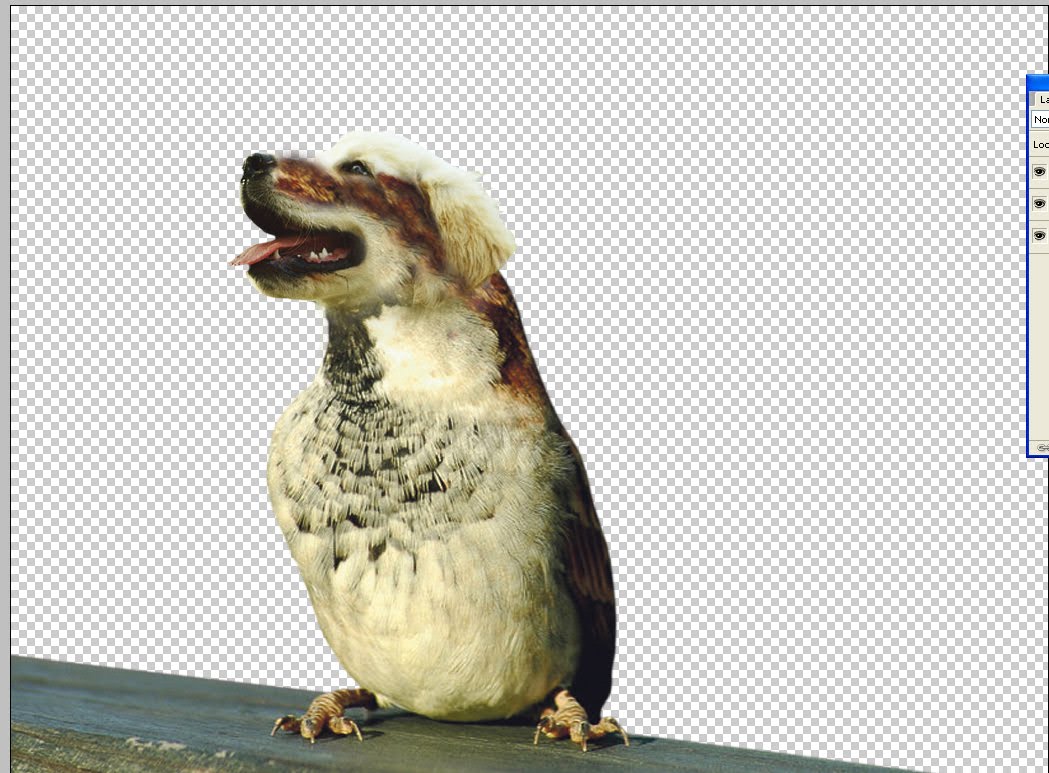
After rmoving the background our canvas now looks like below.

Yes! Now we got the base for our work.
our next step is removing the unwanted body from the dog, you can use eraser or layermask. (Layer mask is recommended ). If you are using eraser.
a feathered brush, then remove the unwanted parts. If you are using Layer mask. Add the layer mask from the Layer menu ------> Layer Mask ----> Apply.
set the Foreground Color as Black and Background as White.
use featherd brush to paint the black. (Where the Black is used to paint will become visible with layer mask.
also we can retain the part when we want it. Thats why I recommended layer mask ).

Now select the dog layer and press ctrl/cmd + t to Transform or to Scale it.
rotate the Dog slightly to the right . This is for matching the dogs head position with the sparrows.

Then move the dogs head slightly to bottom so we can match the proportion with the body.
Then also adjust the unwanted parts of the body. Adjust the body as like the below result.

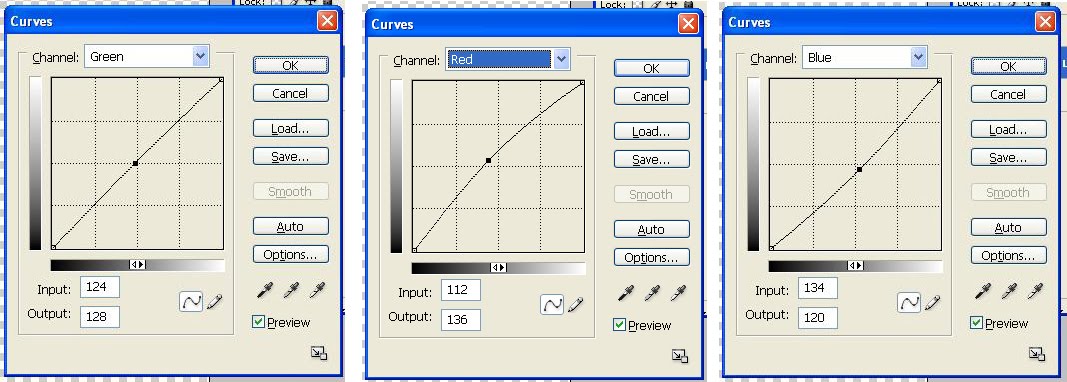
We are going to match the color. We have a great tool called Curves.
Access this pallete by pressing Ctrl/Cmd + M or Image---> Adjustments ----> Curves.
Then use the below values to match the color.
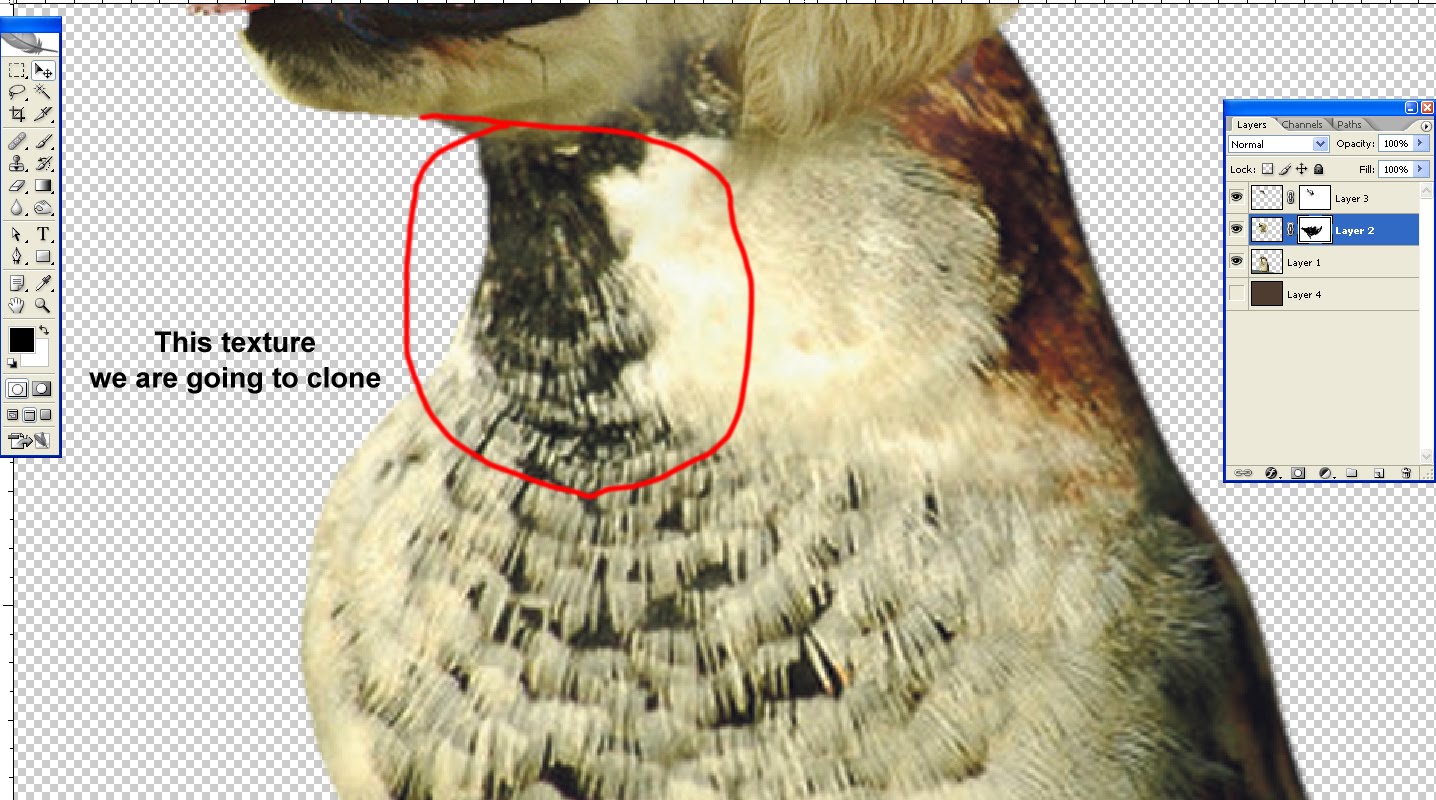
 Now we are going to add the patterns from the sparrow body to our dogs head.
Use Clone Stamp tool to copy the Texture. And add it to a new layer.
Firstly clone the Brown pattern from the Wings. Have a look to my output below.
 Now it is looking not good. So we need to merge down with the dog head. Use the Layer Mask to Merge it.
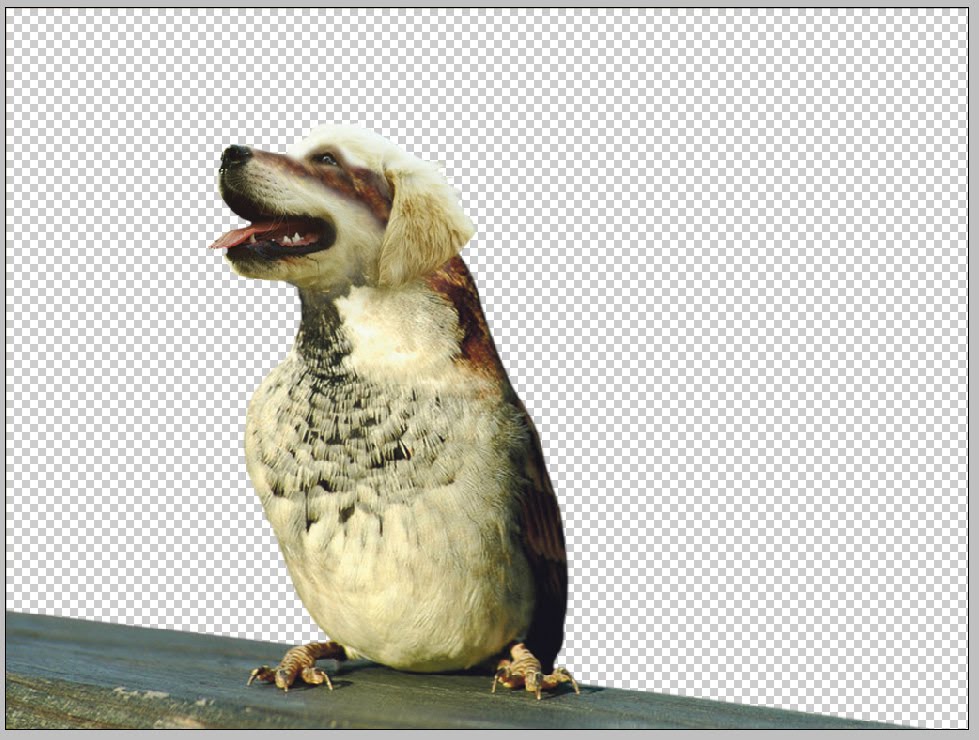
Now we are going to clone the Neck part to the dog. In a New Layer
Take the clone and you will get as likes below.

Now we need to scale and rotate the clone to match with the Dogs

Now remove the unwanted parts and merge it with body as how we previously did.

Now we completed the morphing.
We are going to create a good background for our “birdog”. I had used the below image for the background.

Place this in image in the background.
Now we got a fantastic composition.

But we want to do little more to make our work more realistic.
For that we are going to add some light rays into our artwork.
First create a white circle with the following values

Then apply Gaussian blur to this white circle with the following values.
For applying Gaussian Blur. Goto FilterMenu ----> Blur -----> Gaussian Blur

Then cut out the white circle as a square.
Like below.

Now you get a output looks like below

Apply OVERLAY blending mode for this layer.
Now we want to make some more copies of this with some differences in size, orientations and opacity Then move all these Rays to the Left side of the Canvas and put it as light rays coming from that side.
Now you will get a result as looks like below.

Now we are going to create a light ray falling into the ground; where our creature is sitting.
For that copy one of our light ray to the below showed position.

Now create a small white circle on the floor where the light ray falling.

Now apply 15 pixel Gaussian Blur to the white circle and change blending mode to Overlay.
Then skew the white circle if needed to match with the falling light ray.
Now you will get a result as looks like below.

Now we are going to add a light Burn to the image.
For this just create a white circle on the neck portion of the dog + bird creature

Add a 42 pixel blur and change the opacity to 70%

What we are going to do next.
You are right we are going to add a butterfly to our artwork.
For that, download the below butterfly from Deviant Art.
Then cut out the butterfly and place in to our canvas.
Put it above the nose of the dog, looking the dogs eye.
The result will looks like below.

For that follow the below values.

Now we need to correct the light of the Butterfly.
Go to Filter ----> Render ----> Lighting Effects and follow the below values

Now we are going to add some glowing particles to our canvas.
For that create a layer below to the creature layers. With the following layer effects.


Now select a feathered brush and draw some dots with alterations in Size and Opacity.

Now add a Curves Adjustment Layer on above to all of the Layers.


Comments
Post a Comment